-

No Sun, No Problem: How to Create an Oasis in Low Light
Have you ever looked at a shady corner of your yard and wondered, "Can anything really grow there?" Well, the answer is a resounding YES! Shady spaces hold a unique charm, offering cool respite from the summer sun and a sense of serenity that's hard to find in sun-drenched spots.
-

Plant Life Cycle 101: A Gardener's Guide to Growth & Care
Flashback to high school biology class... don't worry, this won't be a snooze fest! Instead, we're taking a fascinating journey through the plant life cycle. Discover the secrets behind each stage, from the humble seed to the glorious bloom, and unlock the knowledge to nurture your green companions like a pro.
-

Rootbound Rescue: How to Save Your Plants from a Tangled Mess
Is your beloved houseplant looking a little down in the dumps? Have you noticed yellowing leaves, stunted growth, or roots snaking out of the drainage holes? Don't give up on your green companion just yet! These seemingly dire signs might simply mean your plant is rootbound, a common issue that can be easily remedied with a little know-how and care.
-

Seedling SOS: Why Your Baby Plants Are Dying and How to Save Them
Picture this: You're a plant parent, eagerly anticipating the arrival of your tiny green offspring. But then, tragedy strikes. Your once-vibrant seedlings begin to droop, wither, or simply disappear, leaving you with a sense of loss and a lingering question: "What went wrong?" Seedling death is a common heartbreak for gardeners of all levels... But fear not! There are many reasons why seedlings may start to die, and most of them are preventable or solvable with a little knowledge and prompt action.
-

Friends or Foes? Garden Companions to Avoid
Gardening is often described as a peaceful pastime, a dance with nature where harmony reigns. But beneath the surface of this tranquil image lies a hidden world of plant rivalries, secret alliances, and even outright warfare. Yes, your garden is a battleground, and the stakes are high: a bountiful harvest or a season of disappointment. The truth is, not all plants play well together. Some combinations, seemingly innocent at first glance, can lead to a domino effect of pest infestations, rampant diseases, and stunted growth. It's a botanical soap opera you don't want to star in and we here to help you in that endeavor.
-

Seed Starting Fails: The Top 10 Mistakes
Have you ever been excited to start your seeds, only to find that weeks later, nothing has sprouted? You're not alone! At Southern Seeds, we've helped countless gardeners troubleshoot their seed-starting woes. From stratification to overwatering, there are many common mistakes that can sabotage your success. But don't worry, we're here to help! This comprehensive guide reveals the top 10 blunders even experienced gardeners make (and how to avoid them). We'll walk you through each mistake, offering expert advice and practical solutions to ensure your seedlings thrive. Whether you're a seasoned gardener or a beginner, this guide will equip you with the knowledge you need to achieve a bountiful harvest and a garden that flourishes.
-

Beefsteak Tomato Guide: From Seed to Harvest
Discover the art of growing Beefsteak tomatoes in our comprehensive guide. From the classic Beefsteak to heirloom Brandywine and robust Big Beef, learn how to cultivate these garden giants for a bountiful harvest. Dive into care tips, from seed to harvest, and explore popular varieties that promise flavor and size. Whether you're a seasoned gardener or a beginner, join us in embracing the joy of homegrown tomatoes and enrich your summer with the taste of success.
-

Navigating Tomato Varieties: Determinate vs. Indeterminate
Dive into the vibrant world of tomatoes with our comprehensive guide on determinate vs. indeterminate varieties. From the lush vines of Beefsteak and Sun Gold to the compact bounty of Roma and Amish Paste, discover the top picks for every garden. Whether you're dreaming of fresh salads or homemade sauces, our blog unveils the secrets to choosing, growing, and enjoying the perfect tomatoes for your space. Join us at Southern Seeds and let's cultivate a season of unparalleled flavor and abundance together.
-

Top 10 Most Popular Seeds for Spring 2024: Gardeners' Favorites Revealed
Dive into Spring 2024 with Southern Seeds' Top 10 Must-Have Seeds, from the vibrant Pompon Dahlias to the deliciously sweet Peaches & Cream Corn. Discover these handpicked favorites designed to inspire and transform your garden into a flourishing oasis. Explore more amazing selections and embrace the joy of gardening with us.
-

Mastering the Art of Hardening Off Seedlings
Diving into the world of gardening, one crucial step stands between the nurturing warmth of indoors and the vibrant life of an outdoor garden: hardening off seedlings. This practice is not just a routine but a gardener's safeguard, ensuring that plants like tomatoes, peppers, and even the more demanding 'project seeds' transition smoothly to their new environment. Join us as we explore the hows and whys of hardening off, a process that promises to strengthen your garden's future bounty and beauty.
-

Why Now is the Perfect Time to Buy Your Garden Seeds
Discover why winter is the best time for buying garden seeds. From cold stratification to beating the spring rush, learn strategic reasons to start your seed shopping now. Get a jumpstart on your lush spring garden!
-

Understanding the Updated 2023 USDA Hardiness Zone Map
Explore the latest 2023 USDA Hardiness Zone Map changes. Key shifts in the Northeast and Midwest signal a warming trend, impacting gardeners and farmers. Learn how these updates affect your planting strategy in our comprehensive blog. #Gardening #ClimateChange #USDAZones
-

Green Thumb Beginnings: Top 10 Vegetables for First-Time Gardeners
Kickstart your gardening journey with our top 10 easy-to-grow veggies for beginners! From leafy greens to crunchy roots, learn the basics and build skills for lifelong gardening success. Explore our beginner-friendly guide, enriched with expert tips on USDA zones and seed starting. 🌱 #GardenBeginners #EasyVeggies
-

Cultivate Tranquility: 15 Plants to Naturally Ward Off Mosquitoes
Plan for spring and keep mosquitoes at bay! Discover the top plants like Citronella and Lavender that naturally repel these pests. Perfect your garden's defense and enjoy serene, buzz-free outdoor spaces with our expert tips
-

November Planting Guide: Best Vegetable and Herb Seeds to Start
Unlock the potential of your garden in November! From vibrant veggies to hearty herbs, our guide will help you navigate the best seeds to sow directly this month. With options for every USDA zone, your garden can thrive even as the temperatures drop. Get ready to dig in and reap the rewards!
-

Veg Out Right: A Guide to Caloric Content in Vegetables
Explore our comprehensive list of vegetables and their caloric content per cup, catering to those seeking to increase their intake or find low-calorie options for weight management. This guide provides the knowledge you need to make educated decisions for your garden or meals.
-

Cultivating Sustainability: Top Perennial Vegetables for Your Garden
Discover the ultimate solution for a sustainable garden with our top picks for perennial vegetables. From asparagus to Jerusalem artichokes, these low-maintenance options will provide delicious, fresh produce year after year, while also taking care of our planet. Dive into the world of perennial vegetables with us!
-

2023's Herbal Tea Plant Trends: Spotlight on the Top 20
Dive into the world of herbal teas with our top 20 picks for 2023. From the healing properties of Ashwagandha to the delightful flavors of Spearmint, explore the plants that have captured the attention of tea enthusiasts this year. Our unique list reflects the shift towards natural healing and the medicinal plants that are now taking center stage in the world of herbal teas.
-

October Planting Guide: Best Vegetable & Herb Seeds to Start
October brings a crisp change to our gardens, but it's not the end of planting! Discover the best vegetables and herbs to sow outdoors this month tailored to each USDA hardiness zone. From the warm embrace of Zone 10 to the chilly climes of Zone 3, there's still much to grow
-

Comprehensive Guide to Guarding Your Garden Against Frost
Guard your garden against the icy grip of frost with our comprehensive guide. From understanding frost dates to choosing cold-tolerant plants, we've got you covered. Dive in to discover tips, tricks, and strategies to ensure your plants thrive even when temperatures take a dip. Need advice? We're always here to help!
-

Urban Gardening: Maximizing Growth in Minimal Spaces
Urban gardening is revolutionizing the way city-dwellers connect with their food. Dive into the world of maximizing yields in small spaces, understanding the depth needs of veggies, and joining a vibrant community of urban green thumbs. 🌿 #UrbanGardening #SouthernSeeds
-

The Foolproof Guide to Seed Starting
Embark on the rewarding journey of seed starting with our comprehensive guide. From understanding the nuances of soil selection to troubleshooting common issues, we break down each step for the budding gardener. Remember, every seed holds a promise, and with the right knowledge, you can unlock its full potential.
-

Finding the Perfect Cucumber for Your Gardening Needs
Discover the perfect cucumber for every gardening need! Dive into our curated list, featuring the best slicers, picklers, and those unique varieties that add a touch of intrigue to your garden. Whether you're gardening in a container, a greenhouse, or aiming for a dual-purpose variety, we've got the cucumber recommendation just for you.
-

Navigating the Gardening World Through USDA Hardiness Zones
Dive deep into the world of USDA Hardiness Zones and discover their significance in gardening. From historical roots to the impact of climate change, learn how these zones guide planting decisions and optimize your garden's potential. Plus, explore tools like Gardenate to fine-tune your planting schedule.
-

2023's Perennial Plant Trends: Spotlight on the Top 30
Discover 2023's top perennial plant trends! From the reigning Creeping Thyme to classics and newfound favorites, we at Southern Seeds spotlight the 30 flowers making waves this year. Dive into a world where botanical beauty meets evolving trends and prepare your garden for the next big bloom!
-

Cultivate Calm: Your Essential Guide to Lavender
Unlock the mysteries of lavender with our comprehensive guide. Dive deep into the diverse varieties, explore the rich histories and unique attributes of each, and learn the best practices from seeding to harvesting. Whether you're a gardening novice or a seasoned green thumb, this article is your gateway to creating a fragrant lavender haven in your own backyard. Embrace the allure of this aromatic herb and let your garden blossom with its purple hues.
-

From Aphids to Whiteflies: The Ultimate Guide to Garden Pests
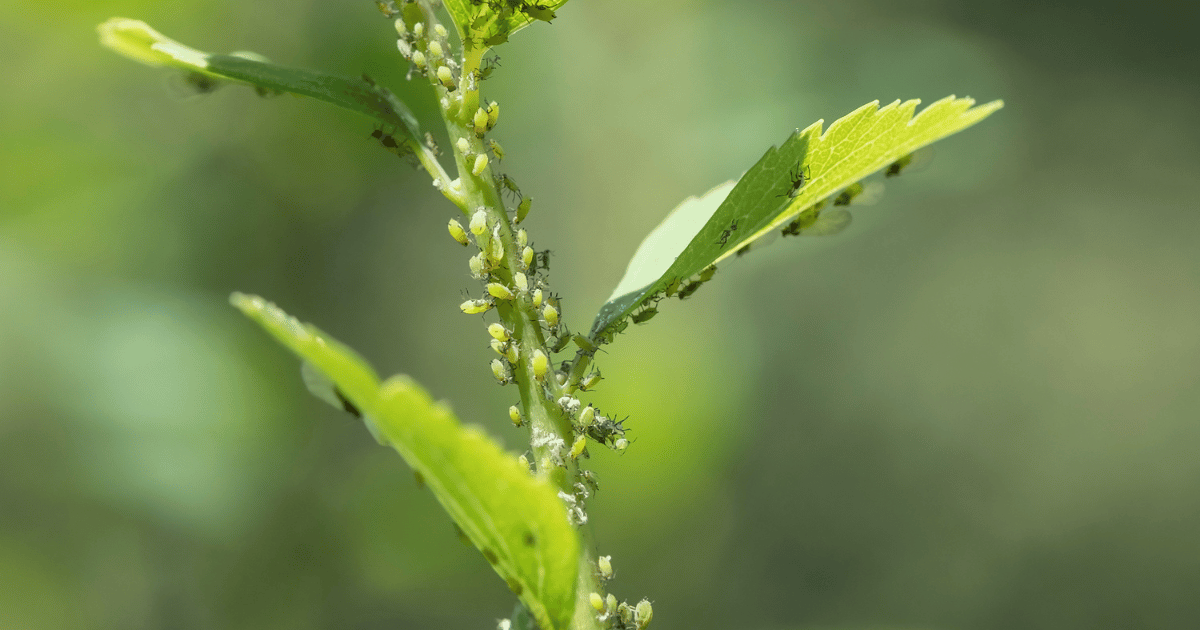
Discover the most common garden pests that might be compromising your plants and learn how to effectively combat them. From aphids to caterpillars, our guide offers sustainable solutions, including the art of companion planting, to ensure your garden thrives pest-free.
-

Battling Botanical Adversaries: A Guide to Common Plant Diseases
Unearth the mysteries behind the world of common plant diseases. Learn about the dreaded blight that once reshaped nations, to the subtle nuances between downy and powdery mildew. We dive deep into symptoms, cures, and preventive measures, ensuring your garden remains a beacon of health and vitality.
-

The Radiance of Marigolds: A Gardener’s Delight
Delve into the radiant world of marigolds, uncovering their vibrant shades, diverse varieties, and the intricate care they demand. Join our exploration into marigolds, as we unearth their allure, benefits, and gardener’s secrets from seed to full bloom.
-

Deer vs. Garden: 30 Plants That Will Win the Battle
"Deer in the garden again? 🦌🌷 Say goodbye to nibbled blooms and hello to a vibrant and flourishing garden! Our guide to 30 deer-resistant plants is not just about keeping those graceful creatures at bay. It's about building a space that thrives with beauty, scent, and color, and does so in harmony with nature. Dive into a world where Marigolds meet Lavender, and discover how your garden can be a feast for the eyes, not the deer. Curious? Join us, and let's grow together!
-

Planting Hope: The Benefits and Joys of a Fall Garden
Embrace the charm of autumn gardening with our in-depth guide to fall gardens! Discover the joy of planting delightful fall vegetables, herbs, and flowers that thrive in cooler weather. Learn how to start, maintain, and harvest a bountiful fall garden that’s not just about pumpkins and gourds. Get inspired and let's dig in!
-

Heirloom, Open Pollinated, and Hybrid: Understanding Seed Varieties and Their Benefits
Dive into the world of heirloom, open-pollinated, and hybrid seeds and discover which is right for your garden. Uncover the mysteries behind these terms, explore the pros and cons of each, and learn through real-life examples. Whether you're growing vegetables, flowers, or herbs, understanding seed types can open up new horizons for your garden. Ready to explore? Your perfect seed is just a read away!
-

Composting 101: Turning Waste into Garden Gold
Ever wondered what to do with those kitchen scraps? Get ready to convert your waste into wealth with our comprehensive guide, 'Composting 101: Turning Waste into Garden Gold'. We're spilling the dirt on how you can supercharge your garden, cut down on waste, and join the green revolution, all from your backyard. Don't miss out on the composting craze, dive in now
-

Reaching New Heights: The Advantages and Art of Vertical Gardening
Ever thought about gardening... up? Join us as we explore the rising trend of vertical gardening! From the basics of getting started to the ins-and-outs of maintaining your vertical garden, we're covering it all in this comprehensive guide. If you're interested in making the most out of your garden space, then this post is a must-read!
-

Hens and Chicks: The Hardy Succulents You Need in Your Garden
Dive into the charming world of hens and chicks succulents with our comprehensive guide. Uncover their unique growth patterns, care needs, and the secret to keeping them happy through the seasons. Join us for a deep dive into these tiny, resilient wonders.
-

Embracing Change: Our Exciting Move to a Little Patch of Heaven Outside Dallas
We're on the move! Discover why we've decided to relocate to a new patch of heaven just outside Dallas. From improving our services to embracing an amazing food culture, join us on this exciting journey!
-

Decoding Botany: Making Sense of Plant Classification
Dive into the fascinating world of plant taxonomy with our beginner-friendly guide! We break down this complex system with an easy-to-understand family tree analogy, providing clarity about Kingdoms, Divisions, Orders, and all the way down to Species. Unearth the significance of cultivars, hybrids, and why scientific names are crucial for uniformity.
-

Bees in the Garden: Why We Need Them and How to Attract Them
Uncover the buzzing world of bees! Discover their essential role in our lives and environment, understand the challenges they face, and learn how to charm them into your garden with the right mix of plants. It's time to create your own bee-friendly oasis!
-

Companion Planting: What Works and Why
Tune into our latest Shop Talk, where we dive into the roots of companion planting - a natural phenomenon where certain plants benefit from growing near each other. Discover the best plant pairings, learn the do's and don'ts, and how to plan your own companion garden for a thriving, bountiful harvest. Ready to play matchmaker for your garden?
-

Decoding Garden Jargon: Annuals, Perennials, and Biennials
Step into the world of annuals, perennials, and biennials with us as we delve into the difference and pros and cons of each. Discover how to create a vibrant, all-year-round garden with our blend of seed favorites, from the humble Petunia to the mighty Hollyhock. So, whether you're a gardening newbie or a seasoned green thumb, there's something for everyone in this casual, informative read. Get your gloves ready and join us in the garden!
-

The Chilled Path to Germination: A Guide to Cold Stratification
Looking to unlock the secrets of seed germination? Join us as we explore the wonderful world of cold stratification, a vital process that helps many of our favorite plant seeds break dormancy and start sprouting. We'll break down the science behind it, discuss the difference between moist and dry stratification, and even guide you through various stratification methods you can try at home. With this knowledge, you'll be well on your way to mastering your green thumb skills and creating a vibrant, thriving garden!
-

Spice Up Your Garden: Culinary Herbs Trends for 2023
Hey there, green thumbs and foodies! Dive into our latest blog post where we rank the 15 most popular culinary herbs of 2023! From Sweet Basil to Marjoram, learn about the unique flavors, historical significance, and surprising uses of these herbs. Spoiler alert: There’s more to these herbs than just spicing up your cooking. Ready to spice up your garden and kitchen? Read on!
-

The Unmatched Value of Heirloom Seeds: A Journey Back in Time
Uncover the magic of heirloom seeds! What makes them different, and why are they so special? Journey with us through the flavorful tales of Asparagus, Mary Washington, Carrot, Tendersweet, and more, and see how you can become a part of their story. Get ready to sow the seeds of the past for a lush, diverse future. Click to read more and join the heirloom revolution!
